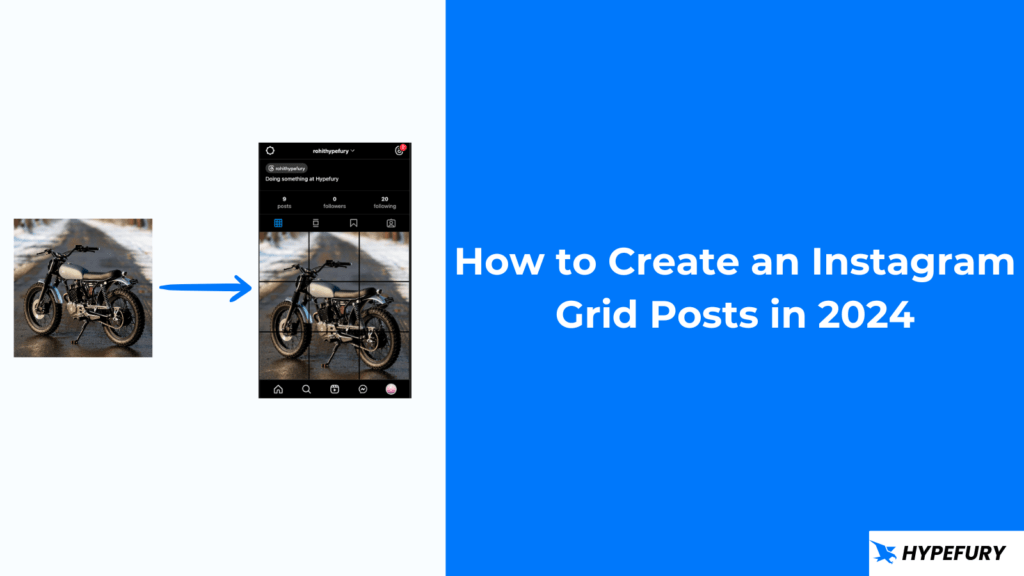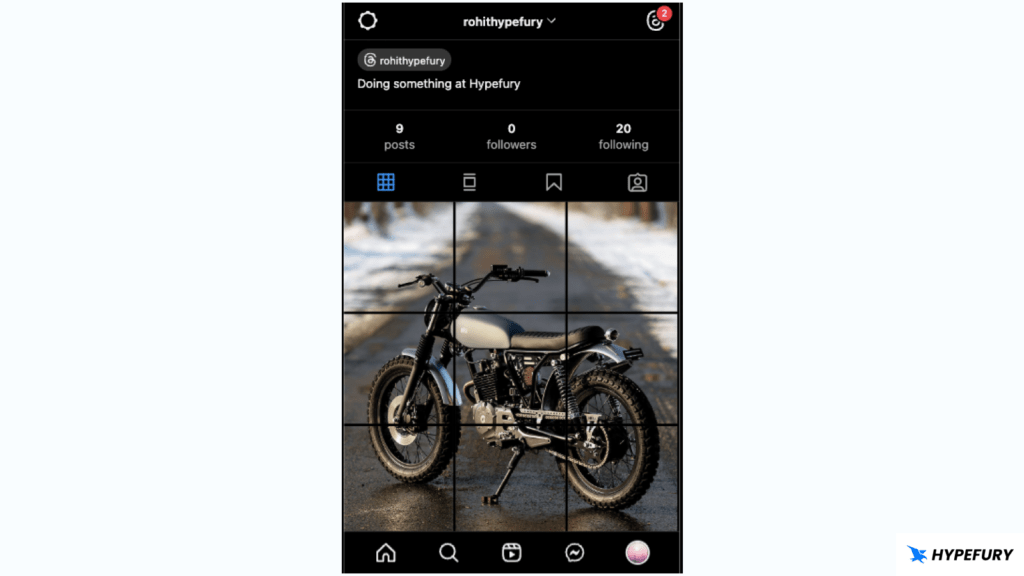
Here is how you can create Instagram grid posts.

1. Split your image
The first thing you need is to split the image you want to post based on the number of grids.
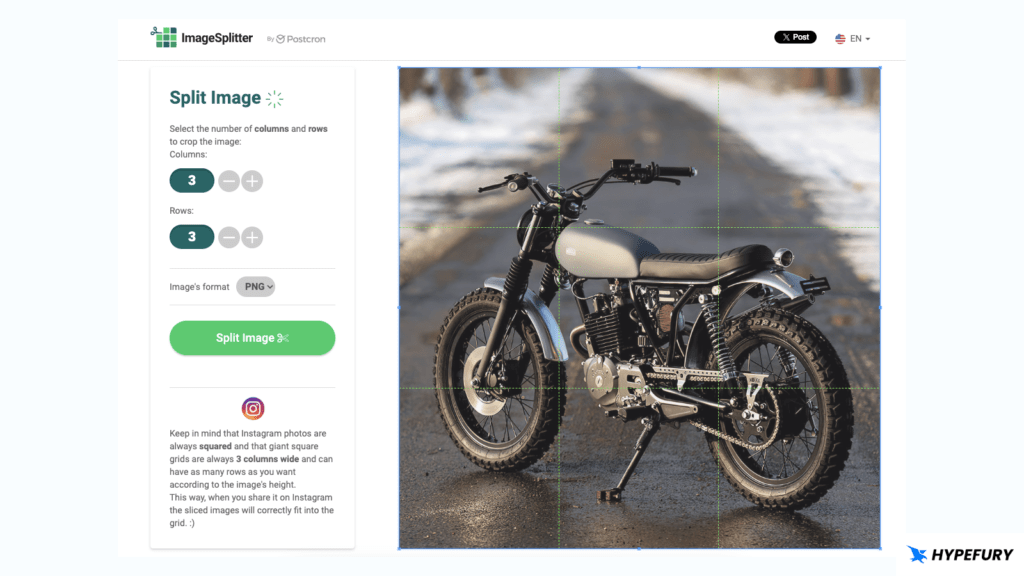
Instagram always displays your posts in three columns so your columns should always remain three. You can change the rows to any number you want but between 3 and 12 tends to work best. A 3×3 grid is the most common one that you will find.
To split your image, head over to Image Splitter, upload your image and choose the number of grids that you want.
Once splitting is complete, download your image. This will download a zip file containing your split images numbered from 1 to the number of your grids. The numbering is important because we are going to use it when posting our grid.
2. Post your grid on Instagram
Now that we have our split images, we can proceed to post them on Instagram.
In posting your images, you have to keep in mind the numbering of the images. Post the images in order. So you first post the image named 1, then 2, 3, and so on.
By doing this you will have a perfect looking grid.


