Twitter is a great platform for building your audience, but if you want to connect and engage with that audience, a newsletter is your best bet for a medium you have full control over.
This article will cover everything you need to know about how to easily promote your newsletter on your Twitter profile.
- How to add a newsletter sign-up to your Twitter profile
- Setting up your Revue newsletter
- How to add subscribers to your Revue newsletter
- Adding your newsletter to your Twitter profile
- Insights and feedback on your newsletter
- Using Zapier to automatically sync subscribers from Revue to your main newsletter
- Another way to promote your newsletter
- How to set up your autoplugs
How to add a newsletter sign-up to your Twitter profile
Twitter recently acquired the newsletter tool Revue, and now they have made it possible for you to easily build and promote your newsletter directly from your Twitter profile.
At the moment, you can only promote Revue newsletters on your Twitter profile, but there are workarounds for promoting and directing your audience to your newsletter on a platform other than Revue. First, we’ll look at how to promote your Revue newsletter on your Twitter profile then explore some creative ways to promote your Mailchimp, ConvertKit, or Substack newsletter.
Setting up your Revue newsletter
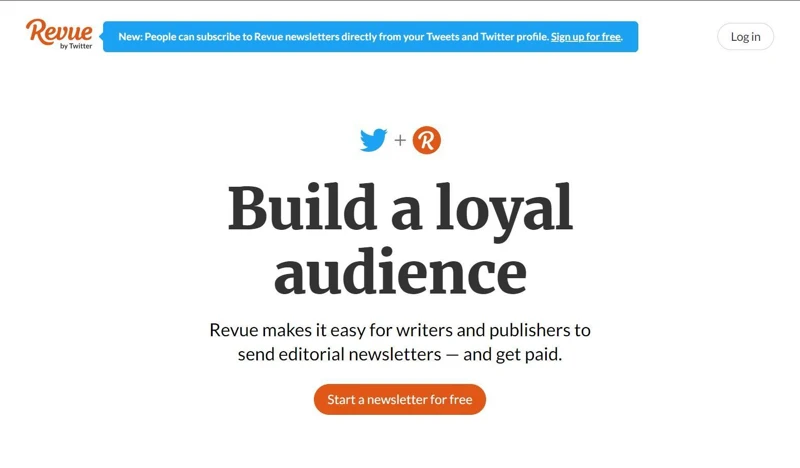
To start promoting your newsletter on your Twitter profile, you’ll need to sign up for Revue.
Signup is simple, and you can easily get it done using your Twitter account or an email address instead.
Once you’re done signing up, you can set the name of your newsletter and get to work on what your first issue will look like.
Once the housekeeping is done, next comes adding subscribers to your newsletter.
How to add subscribers to your Revue newsletter
To add subscribers to your Revue newsletter, switch over to the Subscribers tab on your account header. From there, you can test your newsletter or import subscribers from a Mailchimp newsletter if you have one.
You can also add subscribers by importing a CSV or by manually entering their subscriber information.
After you’ve added all your subscribers, you can start collecting new ones by promoting your newsletter on Twitter, LinkedIn, and Facebook.
Adding your newsletter to your Twitter profile
Now that you know how to get your newsletter off the ground, we can focus on how to promote it on your Twitter profile.
To promote your newsletter the same way we promote the Hypefury newsletter, as shown above, click on your profile icon at the top right of your screen then select “Account Settings.” On your Account Settings page, select “Integrations”
On the page shown above, click on “Settings” on the Twitter card. A page like the one below will appear, and all you have to do to make your newsletter appear on your Twitter profile is to click on the box that says “Show newsletter on Twitter profile.”
Revue also has the following integrations:
- Medium
- Refind
- ProductHunt
- Instapaper
- RSS feeds
- FeedBin
- Dribble
To improve the functionality of your newsletter, Revue also gives you this selection of integrations we consider premium:
- Stripe, which allows you to run a paid newsletter,
- Mailchimp, so you can easily import your subscribers,
- Zapier, so you can automatically sync subscribers with other services,
- LinkedIn, so you can expand your reach and publish to your LinkedIn audience,
- WordPress, so you can embed a signup form into your WP site,
- Drupal, so you can embed a signup form into your Drupal site, and
- Signup forms, so you can embed signup forms into your site.
Having a newsletter is a must for every creator. Social media audiences are great, but you don’t own them! Say the wrong thing and some techie in Silicon Valley could end your influencer fantasy on their way out to lunch.
Besides getting yourself out from under the thumb of social media overlords, newsletters make it possible for you to connect and engage with your audience in ways social media doesn’t allow.
If you’re a creator and you don’t have a newsletter, you should make one. And if you do have one, it is time you started promoting it to the max. This article will show you how you can make sure everyone that visits your Twitter profile sees you have a newsletter.
Insights and feedback on your newsletter
Knowing how your audience is engaging with your content is an important part of becoming a better creator, and Revue has some useful metrics to help stay on top of your newsletter’s performance.
The “Insights” tab of your Revue dashboard gives you three categories of metrics to look at, namely: Performance, Growth, and Engagement.
Your performance insights show you your average open and click rates per issue. You can look at the data from as little as seven days up to 12 months, and even over the lifetime of your newsletter.
The “Growth” section of your insights will show you the number of new subscribers your newsletter has gotten and where they came from. You’ll be able to tell if your subscribers are coming from your profile page, Twitter, APIs, or if you imported or manually added them. Having this information will help you optimize your strategies for attracting subscribers and show you where to focus your energy.
The last set of insights you’ll get is for engagement. You’ll only be able to view your “Engagement” insights once you publish at least 4 issues of your newsletter, but once you’ve unlocked them, you’ll be able to tell how engaged your subscribers are.
Using Zapier to automatically sync subscribers from Revue to your main newsletter
As great as Revue is, the biggest drawback of using it is having to transfer subscribers you collect to your main newsletter service.
Understandably, Twitter would limit promoting newsletters on your Twitter profile to Revue because it owns the service, but being able to promote newsletters from other services as well would have been awesome.
If you’ve resolved to use Revue purely for capturing emails, here’s how to use Zapier to sync subscribers to your main newsletter automatically.
Step 1
Go to Zapier and log in or create a free account.
Step 2
Create a Zap with your Revue as the trigger and set someone subscribing as the trigger event.
Step 3
You’ll need to get an API from Revue to give Zapier access to your Revue data.
Follow the prompts and copy the API key from Revue into the pop-up.
Step 4
Once you’ve set up your trigger event, you can then set up the corresponding action that will sync the collected subscriber information to your main newsletter tool.
To do that, choose whichever newsletter tool you use and select “Add subscriber” as the event. That way, whenever someone subscribes to your Revue newsletter, they will be automatically added to your main newsletter list.
To complete setting up your action event, set your Zap to collect and sync the email address that was entered when the trigger event occurred.
Step 5
Once you’ve finished setting up the action step, you can test that everything is working the way it should by adding your email address to Revue and having Zapier add it to your main newsletter list.
Another way to promote your newsletter
If you don’t quite feel like going through the trouble of setting up Revue, or you’d really like to double down on promoting your newsletter to your Twitter audience, you can use Hypefury Autoplugs to make the most of all the attention your tweet gets.
With Hypefury Autoplugs, you can automatically plug your newsletter under your successful tweets. That way, instead of you endlessly promoting your newsletters on the timeline, Hypefury will automatically add a follow-up tweet with the link to your newsletter every time you pass your preset engagement thread.
Once you set up your Autoplugs, you’ll never miss another chance to promote your content and siphon your audience while everyone is talking about you. And the best part is you’ll never come off like you’re overpromoting or trying too hard, and you can plug pretty much anything you want your audience to know about, not just newsletters.
How to set up your autoplugs
To set up your Autoplugs, hover over the pop-out widget on the right of your Hypefury dashboard and click on “Autoplugs.”
A popup will open in the middle of the screen asking you if you have a newsletter to promote. You can select yes or no, and remember, Autoplugs are amazing for a lot more than just promoting your newsletter.
If you do have a newsletter, you’ll be prompted to add the link to it before you proceed, but you can always add links to your newsletter and other material at a later stage.
Next, a composer like the one below will open allowing you to create your first Autoplug.
Because your Autoplug is a tweet, it will be capped to the 280-character limit for tweets. From the “Simple” tab of the composer, you will also be able to set the frequency with which your Autoplugs are activated.
For example, if you set a frequency of 50%, half of your tweets that reach your preset threshold will have an Autoplug added to them – this way, you can promote your products and links without descending into desperate shilling.
You can create as many Autoplugs as you like, and Hypefury will automatically plug one of them once your preset threshold is reached. That means you can effortlessly drive sales, direct traffic to your website, and get people to sign up for your newsletter all without ever tweeting about them directly.
If you switch over to the “Advanced” tab of the composer, you can access additional settings for your Autoplug and set the threshold at which you want it activated.
And that’s it!
Now you know everything you need to know to successfully promote your newsletter on Twitter and make your audience truly your own.
If you want to try to get a newsletter up and running, check out Revue and Hypefury and start building!


